Soil. It’s our greatest treasure.

It can take hundreds of years and many natural processes to make even a centimetre of soil. The mechanical and chemical weathering of rock makes up around half of any soil’s composition, with around 5% supplied by organic material, and the rest made up by air and water.

Put another way, soil is a complicated mix of both the non-organic, abiotic components- minerals, water and air, and the organic biotic components- bacteria, archaea, fungi, plants and invertebrates that live and die within it.

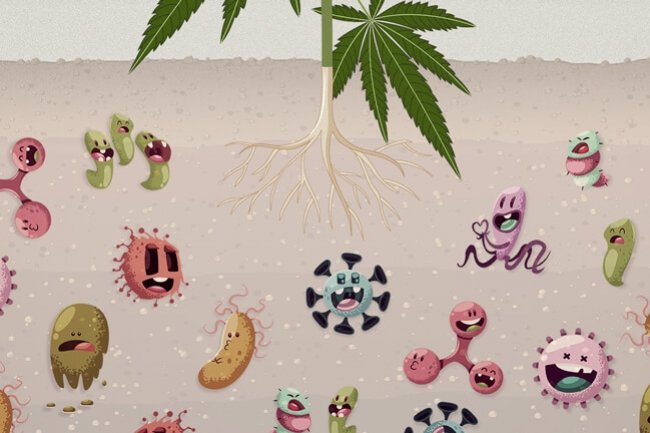
In addition, and bound together with any basic discussion about soil, is the reality of a living soil, the soil food web and soil biodiversity. Soil is a complex, sustainable and dynamic ecosystem, sustained through the complicated interaction of countless soil fauna like worms, woodlice, springtails, nematodes and mites, together with fungi and bacteria.

“Despite all our achievements, we owe our existence to a six-inch layer of topsoil and the fact that it rains.”

However, within a few generations, we have seen the world’s soils rapidly and increasingly degrade, losing nutrients, carbon and fertility, turning saline or actually blowing away. Crops are losing yield and not responding to NPK fertilisers. Fields and farms are being abandoned across much of the world, forcing even more poverty, suffering and human migration. This degrading is mostly human-driven, due to bad farming practices, pollution, acidification, compaction, deforestation and climate change across the world. It’s a sobering and worrying time. Soil biodiversity is dying, with soil fauna like springtails and soil mites reducing to almost zero. Worms are disappearing, fungal activity ceasing.

Soil scientists and farmers are finally being listened to.   People are learning and gaining more knowledge and understanding.  Research is now well funded and positive changes are being discussed at a governmental level and implemented on a regional and local level. Sustaining, improving and increasing soils is a lengthy and time consuming process, but no dig, microbe compost making and regenerative agriculture are showing great results. Feeding the soil rather than the plant has become a well known mantra amongst gardeners and organic growers. The ship may be sinking, but all is not lost.

Whoever you are and whoever you will become, tread lightly on the earth.”

Compost Sample Collection Protocol
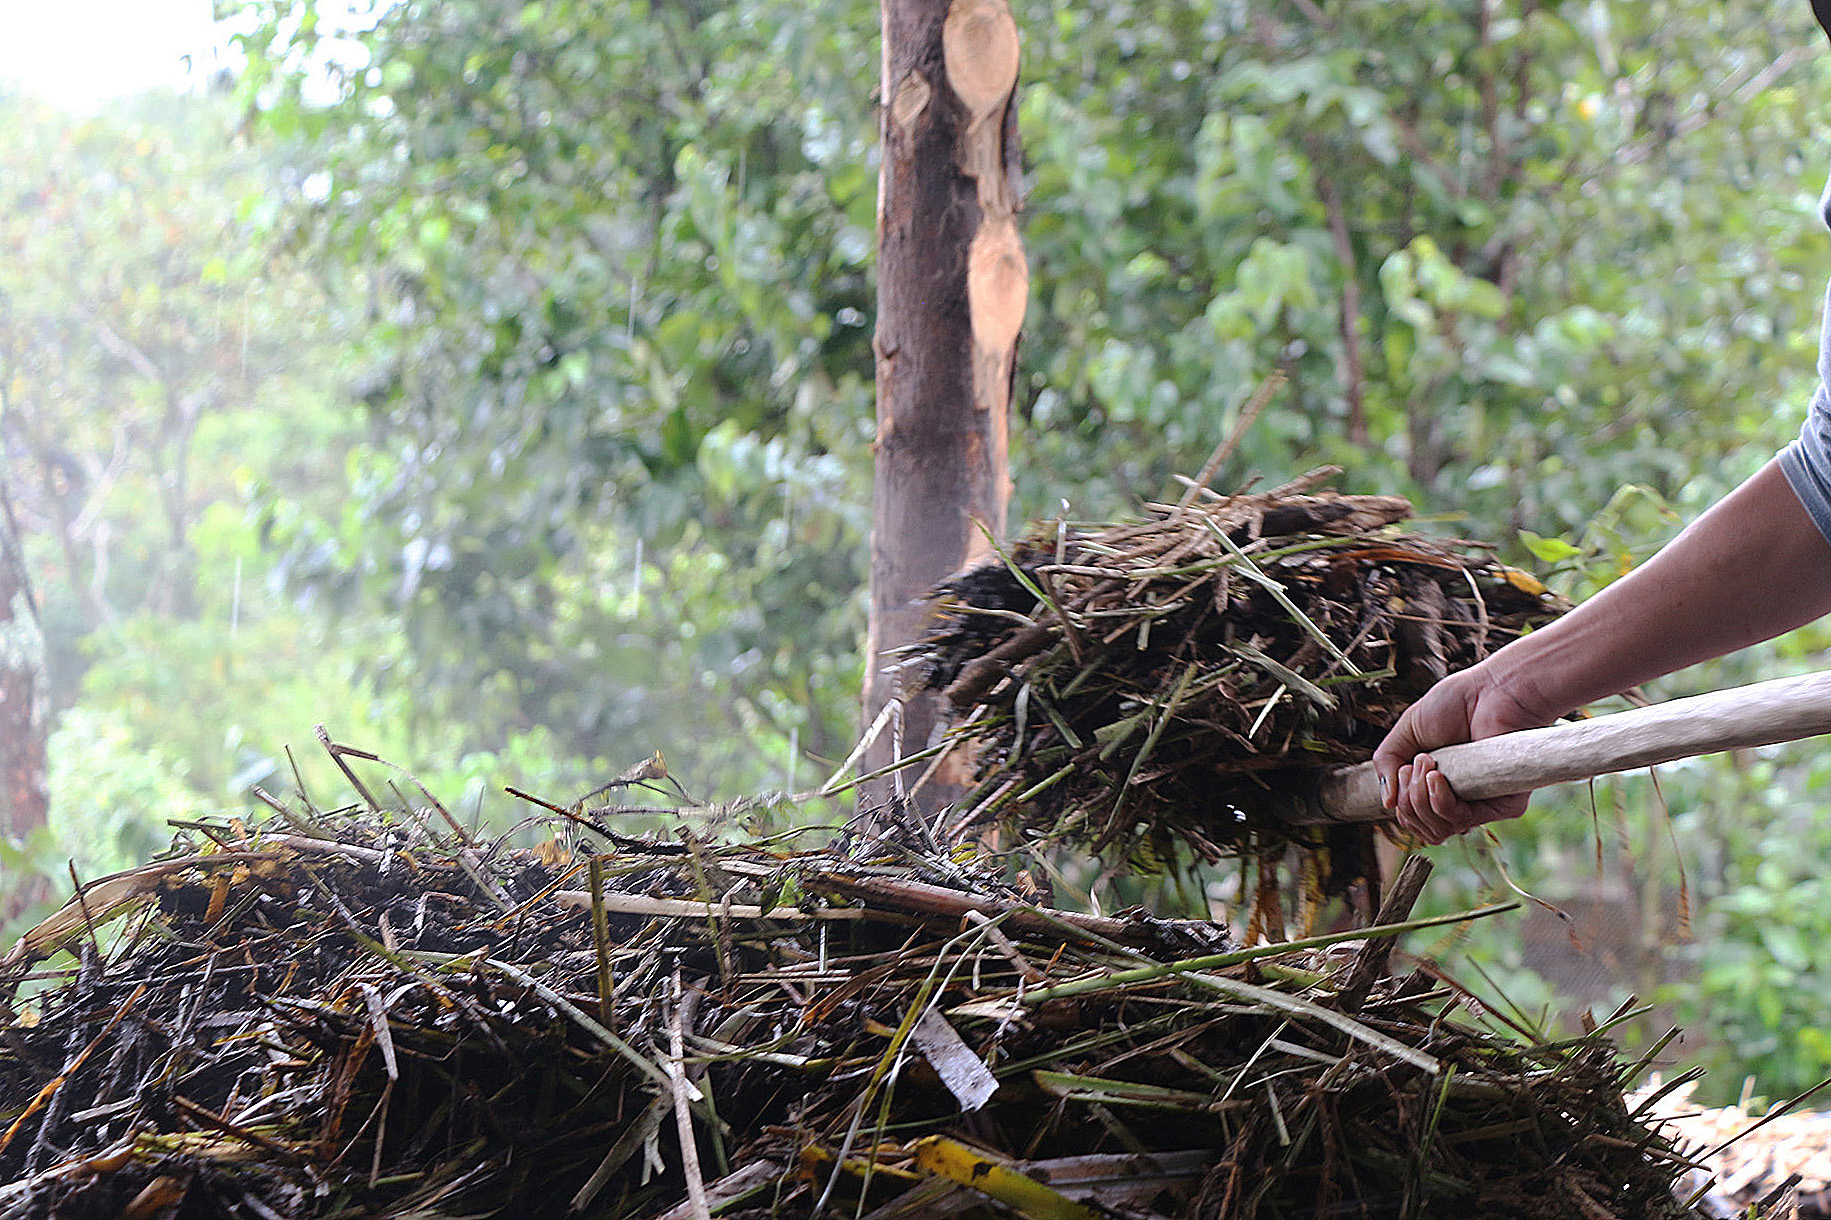
Take 1 tsp (approx 4 grams or 4 ml) from a minimum of 5 different areas from a small compost pile or 20 different areas from a large windrow and mix in a bag. Take the teaspoons from various locations and depths within the pile and subsequently combine them into a single labeled sandwich-sized plastic bag. Doing this helps ensure that the sample is representative of the entire pile. For any single sample, please ensure that you do not fill the bag more than half-way with material. (Note: to reduce the amount of sample material, you may combine and thoroughly mix the sample material separately, in a sterile container, and then place a smaller amount of the mixture in the sandwich bag). Seal the bag with the air left inside it – do not expel the air from the bag, as this will limit the oxygen available to the biology in the sample which may result in anaerobic conditions being formed.
Label: All sample bags should be labeled with the name of the sample on the *outside* using a permanent marker or an affixed label. Please do not put any identifying information about your sample on a piece of paper and place it inside the bag. The paper will disintegrate, become food for microbes, and potentially change the biology of your sample.
Soil Sample Collection Protocol Scenario
A: For Healthy Crops, Weedy Patches, Sick Plants, Bare Patches, etc., in the same field.
  1. Draw a map of the land you are working on and number each area being sampled on the map. You will need to create an index so you can identify what each numbered area represents – see the example in Figure 1 at the bottom of this section.
  2. Take at least 3 core-samples from a single weedy-patch and place the core samples in a bag. Then label this bag (using a permanent marker) and index it using a clear numbering system (e.g. W1), marking the reference on your map so you know precisely where it came from. Make some notes on any distinguishing features that may be apparent e.g. “This is in a depression” or “This is where the farmer had previously-stored 2 tonnes of lime last year” etc.
  3. Move to another weedy-patch and take a further 3 core-samples, placing these core-samples in a different bag. Label and index the bag appropriately (e.g. W2) and mark the reference on the map. Make notes as appropriate.
  4. Continue this process until you have collected samples from a representative number of weedy-patches, say 40%, of the total number of weedy patches in the field being assessed.
  5. Comparing results should give you a good indication of what is happening across your weedy patches. You may find that in most cases the conditions are similar, but that there are some patches that are very different from the average – in such cases, you may wish to investigate a little further by asking the farmer if he did something different in that area. Or you may later realize that there was a depression in that locality that you’d previously missed. Repeat steps 1-5 above for Healthy Plants using a different reference e.g. H1, H2 … etc. Then repeat the process for sick plants and so on. Comparing the results from each of these areas will offer you an insight into the overall state of the land you are working on.
Scenario B: No plants growing, just bare soil (e.g. in a field that was recently tilled and not yet planted)
For each field:
  1. Take 3-4 samples from each of 5-6 areas per acre (more if the field is larger), selecting these at random, ensuring that they are well distributed over the area of the field you are working on. Avoid going right to the boundary of the field and to any areas that are not representative of the field e.g. the ridge line or a depression. Make sure to mark the areas you are sampling on the map, as this information may be useful later in your investigation, particularly if you get some unexpected results.
  2. Place all of these samples in the same bag and mix well before analyzing.
  3. Label the bag Bare Soil. This will give you an insight into the general conditions across the field you are working on. You must repeat steps 1-3 for each individual field or paddock – using different sample bags for each.
Scenario C: Varying conditions & features e.g. Ridges, depressions, etc….
  1. Study the landscape carefully and map-out the various prominent features.
  2. Take 5-6 samples from each of these areas and place them in separate bags.
  3. Label each bag and use the numbering system you have established so that you can mark these on your map. These results will inform you of the biological conditions in each of the individual areas being assessed. For any single sample, please ensure that you do not fill the bag more than half-way with material. (Note: to reduce the amount of sample material, you may combine and thoroughly mix the sample material separately, in a sterile container, and then place a smaller amount of the mixture in the sandwich bag). Seal the bag with the air left inside it – do not expel the air from the bag, as this will limit the oxygen available to the biology in the sample which may result in anaerobic conditions being formed.
  4. Label: All sample bags should be labeled with the name of the sample on the *outside* using a permanent marker or an affixed label. Please do not put any identifying information about your sample on a piece of paper and place it inside the bag. The paper will disintegrate, become food for microbes, and potentially change the biology of your sample. Figure 1 – Example of a map & index:
Liquid Sample Collection Protocol
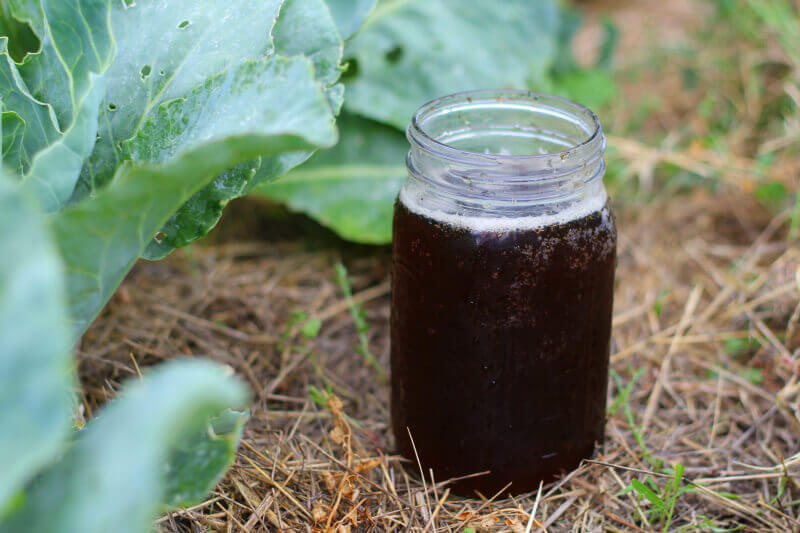
  1. Pour liquid into a clean, not-breakable 4 to 8 oz container with a sealable opening (e.g. plastic water bottle with screw cap). Clean the inside of the container if you are not certain that the bottle held only water previously.
  2. Fill the container ⅓ full of the liquid you want to have assessed. Leave the remainder of the container empty to maximize headspace for air exchange.
  3. Once the screw cap is tightly sealed, cover it with duct tape and place it in a sealed plastic bag.
  4. Be sure that the container is clearly labeled with the name of the sample on the *outside* using a permanent marker or an affixed label.

Is your favourite fruit about to go extinct? 

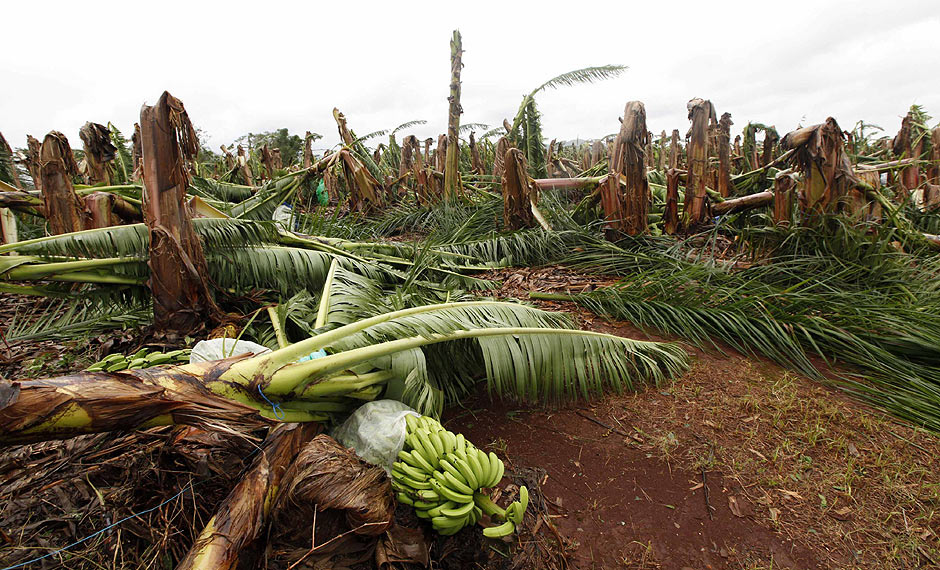
The deadly disease pathogen Fusarium wilt TR4 (previously referred to as Panama Disease) has been wreaking havoc and ravaging the $25 billion global banana industry – with infected plantations experiencing 100% loss and being quarantined for decades.  Colombia has already declared a National State of Emergency, but it may be too late.  A flurry of apocalyptic media accounts have followed, revealing a race to save bananas from extinction after the disease has left a trail of scorched banana plantations in its wake.

The world’s most destructive banana disease is spreading, and there are currently no chemicals available to kill the disease.   This might be a blessing in disguise as it is highly likely that chemical use has actualy contributed to this problem in the first place.   

In August 2021, the Ecuadorian Government has raised the banana disease Fusarium wilt TR4 to pandemic level.  “Ecuador’s message to the global banana community is clear: Fusarium is not just a pest; it is a lethal pandemic for bananas that currently has no solution and that threatens one of the most important industries for the Ecuadorian economy.”

Fusarium wilt is a common fungal disease that attacks many types of herbaceous plants, including banana trees. Also known as Panama disease, fusarium wilt of banana is difficult to control and severe infections are often deadly. The disease has decimated crops and has threatened an estimated 80 percent of the world’s banana crop. Read on to learn more about banana fusarium wilt disease, including management and control. Banana Fusarium Wilt Symptoms Fusarium is a soil-borne fungus that enters the banana plant through the roots. As the disease progresses upward through the plant, it clogs the vessels and blocks the flow of water and nutrients. The first visible banana fusarium wilt symptoms are stunted growth, leaf distortion, and yellowing, and wilt along the edges of mature, lower leaves. The leaves gradually collapse and droop from the plant, eventually drying up completely.   A good article https://draxe.com/health/banana-fungus/ 

The good news is there probably is a natural organic solution, simply utilizing the natural defense mechanism of microbes.    

https://sfamjournals.onlinelibrary.wiley.com/doi/full/10.1111/j.1365-2672.2006.03083.x 

https://www.frontiersin.org/articles/10.3389/fmicb.2019.00616/full

Fusarium Wilt is a problem in the soil…a bad guy is taking over!    Raise the good guys and let them do their magic!

Bananas As We Know Them Are Doomed VICE News

Disease Is Ravaging the $25 Billion Banana Industry Bloomberg

Why The World’s Most Popular Banana May Go Extinct Business Insider

The world’s bananas are in trouble BBC World Service

Why The Banana Business Of Chiquita And Dole Is At Risk CNBC

Not All Viruses Are Bad For You. Here Are Some That Can Have a Protective Effect
CYNTHIA MATHEW, THE CONVERSATION10 AUGUST 2019
Viruses are mostly known for their aggressive and infectious nature.

It’s true, most viruses have a pathogenic relationship with their hosts – meaning they cause diseases ranging from a mild cold to serious conditions like severe acute respiratory syndrome (SARS). They work by invading the host cell, taking over its cellular machinery and releasing new viral particles that go on to infect more cells and cause illness.

But they’re not all bad. Some viruses can actually kill bacteria, while others can fight against more dangerous viruses. So like protective bacteria (probiotics), we have several protective viruses in our body.

Protective ‘phages’
Bacteriophages (or “phages”) are viruses that infect and destroy specific bacteria. They’re found in the mucus membrane lining in the digestive, respiratory and reproductive tracts.

Mucus is a thick, jelly-like material that provides a physical barrier against invading bacteria and protects the underlying cells from being infected. Recent research suggests the phages present in the mucus are part of our natural immune system, protecting the human body from invading bacteria.

Phages have actually been used to treat dysentery, sepsis caused by Staphylococcus aureus, salmonella infections and skin infections for nearly a century. Early sources of phages for therapy included local water bodies, dirt, air, sewage and even body fluids from infected patients. The viruses were isolated from these sources, purified, and then used for treatment.

Phages have attracted renewed interest as we continue to see the rise of drug resistant infections. Recently, a teenager in the United Kingdom was reportedly close to death when phages were successfully used to treat a serious infection that had been resistant to antibiotics.

Nowadays, phages are genetically engineered. Individual strains of phages are tested against target bacteria, and the most effective strains are purified into a potent concentration.

These are stored as either bacteriophage stocks (cocktails), which contain one or more strains of phages and can target a broad range of bacteria, or as Adapted bacteriophages, which target specific bacteria.

Before treatment, a swab is collected from the infected area of the patient, cultured in the lab to identify the bacterial strain, and tested against the therapeutic phage stocks.

Treatment can be safely administered orally, applied directly onto wounds or bacterial lesions, or even spread onto infected surfaces. Clinical trials for intravenous administration of phages are ongoing.

Beneficial viral infections
Viral infections at a young age are important to ensure the proper development of our immune systems. In addition, the immune system is continuously stimulated by systemic viruses at low levels sufficient to develop resistance to other infections.

Some viruses we come across protect humans against infection by other pathogenic viruses.

For example, latent (non-symptomatic) herpes viruses can help human natural killer cells (a specific type of white blood cell) identify cancer cells and cells infected by other pathogenic viruses. They arm the natural killer cells with antigens (a foreign substance that can cause an immune response in the body) that will enable them to identify tumour cells.

This is both a survival tactic by the viruses to last longer within their host, and to get rid of competitive viruses to prevent them from damaging the host. In the future, modified versions of viruses like these could potentially be used to target cancer cells.

Pegivirus C or GBV-C is a virus that does not cause clinical symptoms. Multiple studies have shown HIV patients infected with GBV-C live longer in comparison to patients without it.

The virus slows disease progression by blocking the host receptors required for viral entry into the cell, and promotes the release of virus-detecting interferons and cytokines (proteins produced by white blood cells that activate inflammation and removal of infected cells or pathogens).

In another example, noroviruses were shown to protect the gut of mice when they were given antibiotics. The protective gut bacteria that were killed by the antibiotics made the mice susceptible to gut infections. But in the absence of good bacteria, these noroviruses were able to protect their hosts.

The future of therapeutic viruses
Modern technology has enabled us to understand more about the complexities of the microbial communities that are part of the human body. In addition to good bacteria, we now know there are beneficial viruses present in the gut, skin and even blood.

Our understanding of this viral component is largely in its infancy. But it has huge potential in helping us understand viral infections, and importantly, how to fight the bad ones. It could also shed light on the evolution of the human genome, genetic diseases, and the development of gene therapies.The Conversation

Cynthia Mathew, Research Assistant, University of Canberra.

This article is republished from The Conversation under a Creative Commons license.